Want to zoom in real close to something on your Mac? Or maybe you’re looking to pull back for a wider view? Either way, we’ve got your back.
If you want to be able to zoom in and out on your Mac — be it your entire screen or just in a specific window — you have a few different options to choose from.
1. Zooming in on a single window using keyboard shortcuts
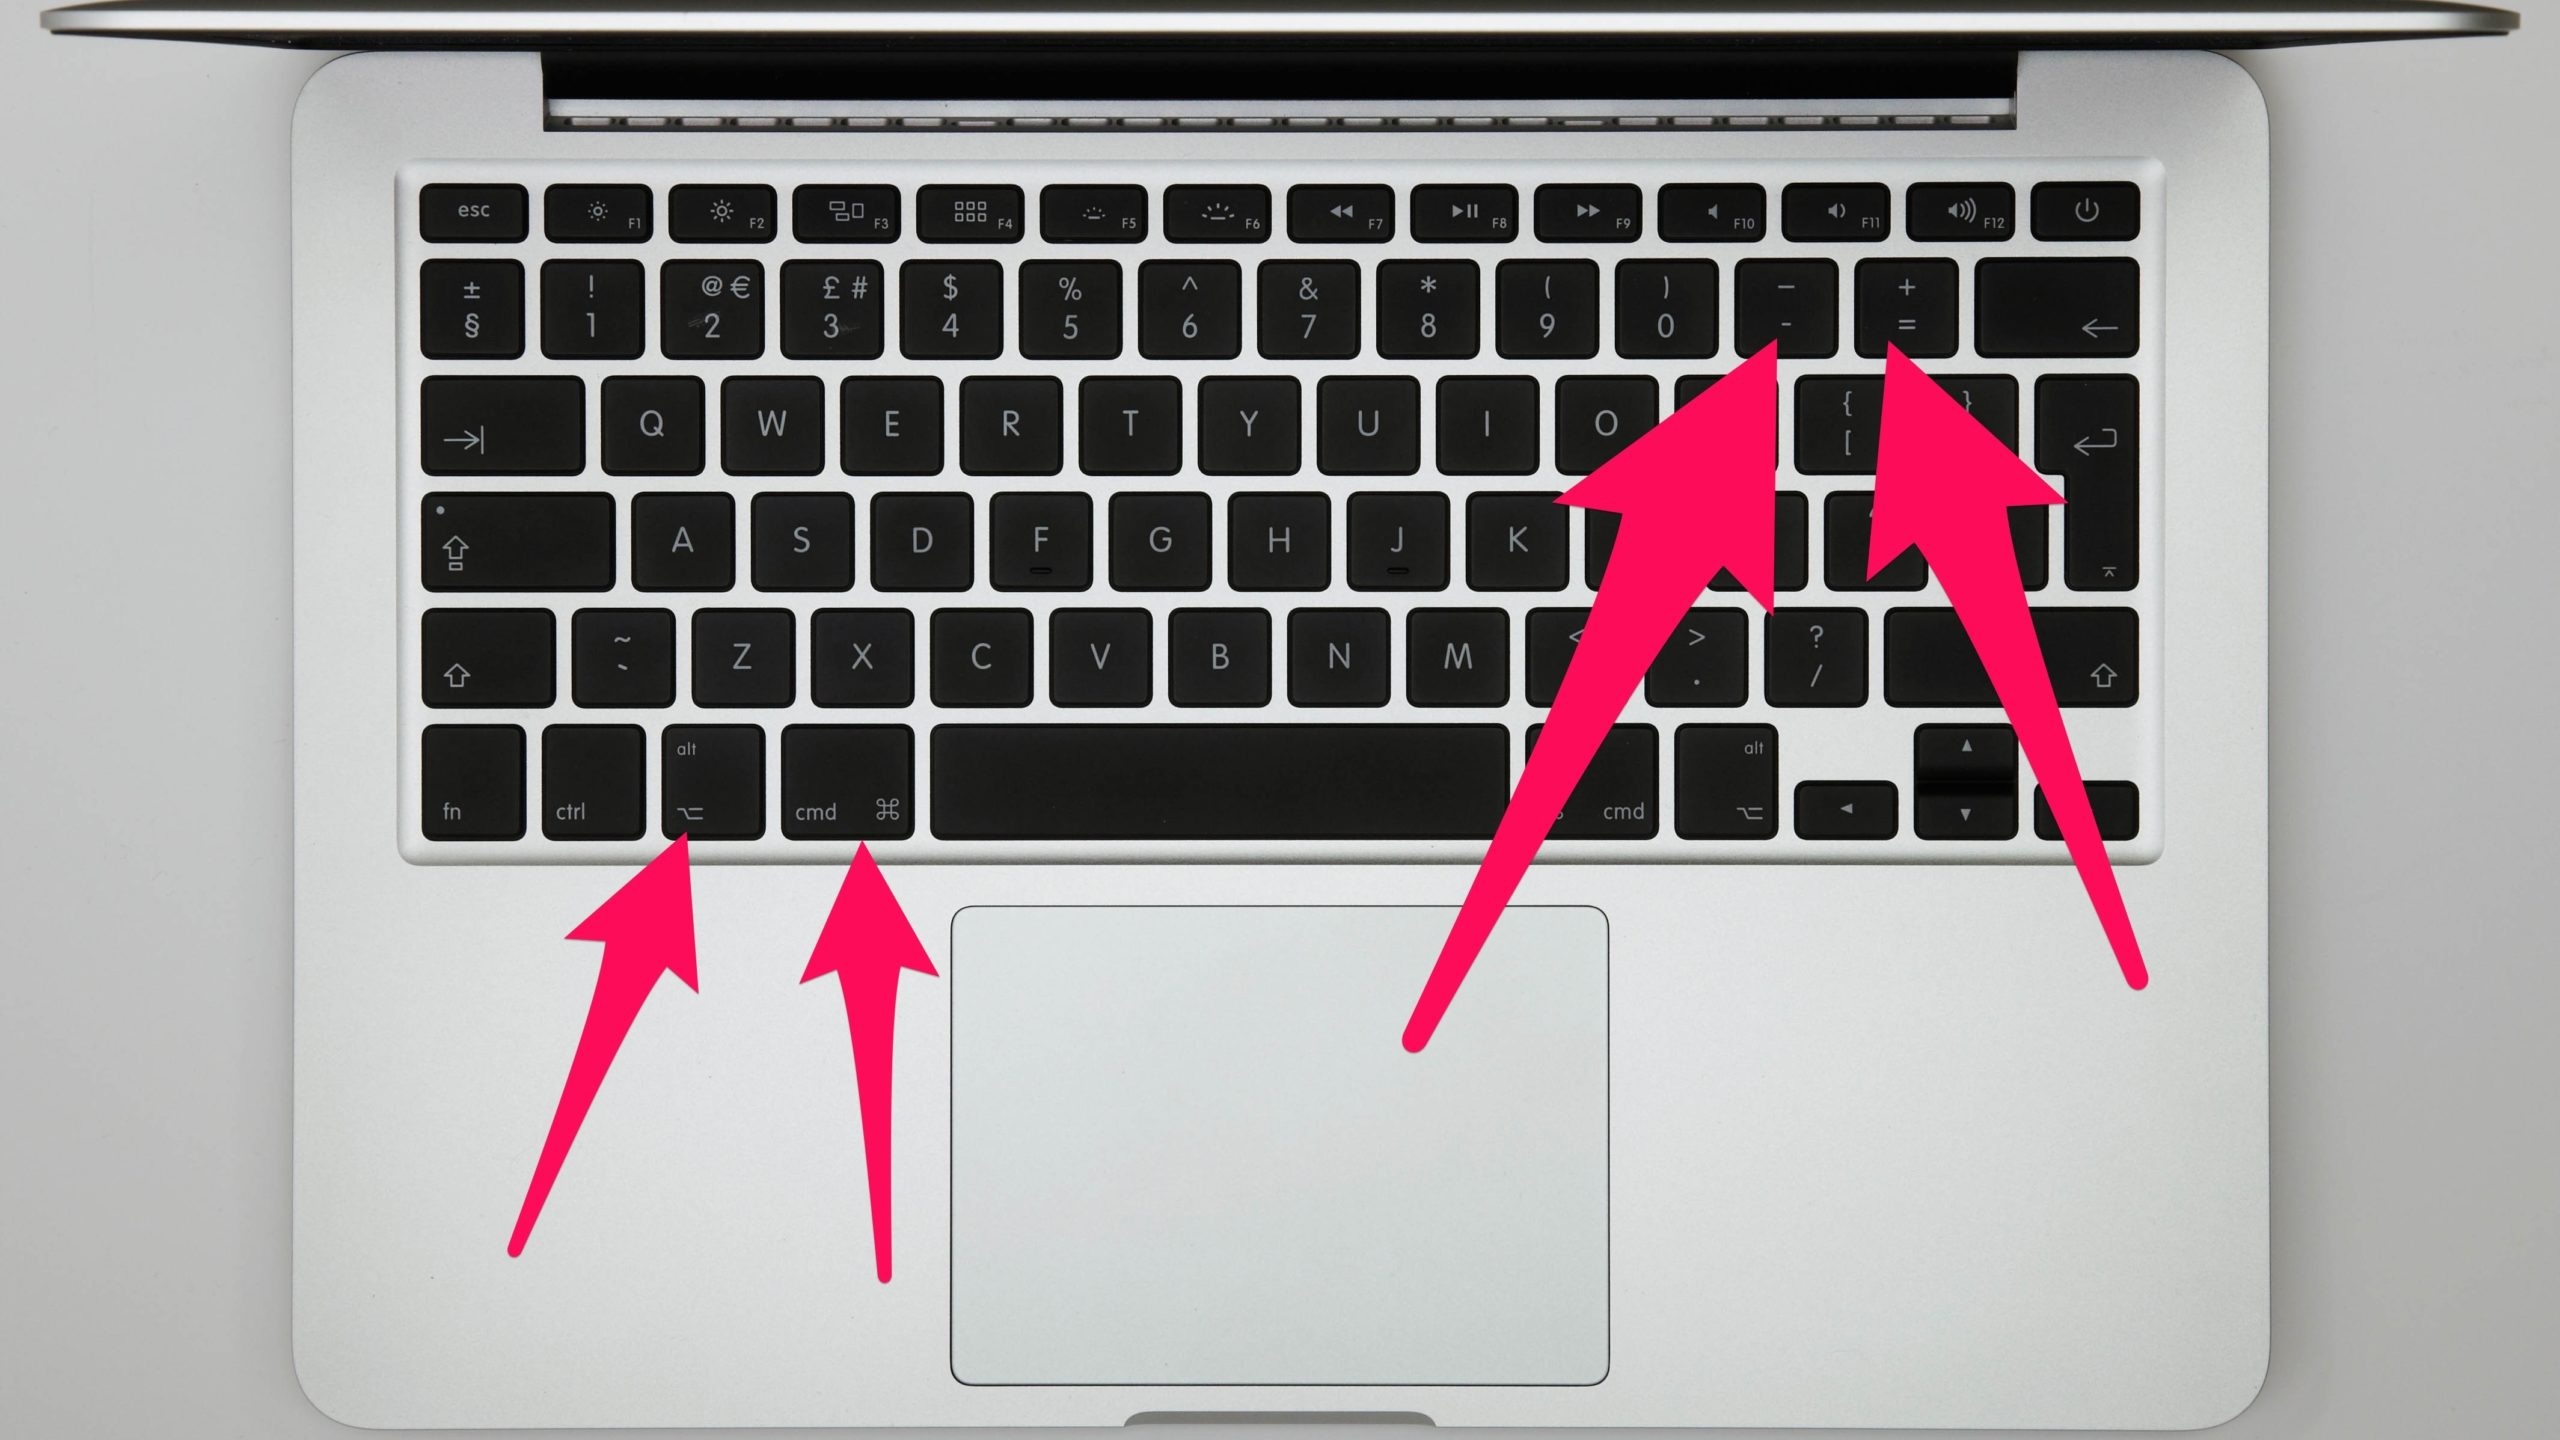
If you’re looking to zoom in or out solely in a specific window, webpage, or app, one of the most popular ways to do so is by using the helpful keyboard shortcuts below.
-
Zoom out: Command + –
-
Zoom in: Command + +
You can keep pushing the – or + keys while holding down the Command key until you’ve zoomed to your heart’s content. Go ahead, give it a try.
2. Zooming in on a single window using trackpad gestures
If you’re using a laptop with a trackpad, you have another great single window zooming option right at your fingertips. Simply place two fingers on your trackpad and pinch them together to zoom out or move them apart to zoom in. Isn’t that cool?
Zooming in on your entire screen
Sometimes you’re looking to zoom in or out on your entire Mac screen, and that’s also doable.
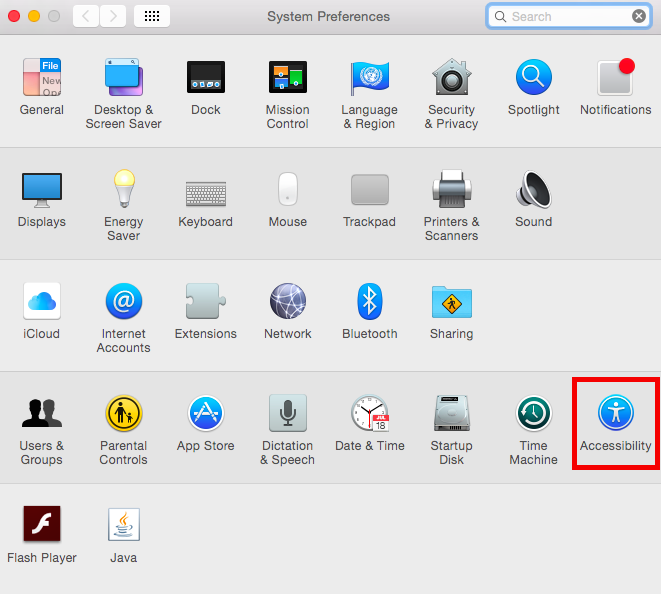
To access whole screen zooming options, first you have to click on the Apple icon in the upper lefthand corner of your screen. In the drop-down menu, select “System Preferences,” then “Accessibility,” which is marked by a blue circle icon with a stick figure inside.

Click “Accessibility” and then click “Zoom” on the left side of the window that opens up.
3. Using keyboard shortcuts to zoom in and out
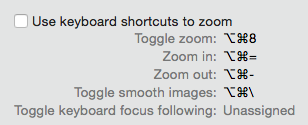
The first whole screen zoom option, which you’ll see at the top of your recently opened window, lets you use keyboard shortcuts to toggle zoom, zoom in, and zoom out. Once you check the box next to “Use keyboard shortcuts to zoom” you’ll be able to utilize these shortcuts:
-
Toggle zoom: Option + Command + 8
-
Zoom in: Option + Command + =
-
Zoom out: Option + Command + –
You can also toggle smooth images by using Command + Command + , which lets you adjust the smoothness of the image on your screen after zooming.

4. Using scroll gesture with modifier keys to zoom in and out
The second whole screen zoom option is to use scroll gesture with modifier keys. Selecting this option will allow you to hold down the key of your choice — either Control, Option, or Command — while scrolling with your cursor to zoom. You can select your preferred key in the dropdown menu, as shown below.

Credit: screengrab / apple
The “Zoom style” dropdown menu underneath that allows you to alter the way the screen zooms. You can choose between full screen, split screen, or picture-in-picture zoom.
You can also click the “Choose Display” and “Advanced…” boxes to further personalize your zoom appearance and controls.
5. Enabling hover text to zoom
If you have a Mac that isn’t over 10 years old (like mine), you have a couple other zoom options to work with as well.
One of those options is enabling hover text to zoom. Selecting this option will show you a bigger, higher-res image of the text that your cursor hovers over, as long as you’re simultaneously holding down the “Command” key. You can click on “Options” to adjust how the text will appear.

Credit: screenshot / apple
6. Enabling Touch Bar zoom
A final option is only for Macs with Touch Bars. You can select “Enable Touch Bar zoom” which will make the Touch Bar larger and easier to see on the bottom of your screen. All you have to do is to test it out is touch and hold the Touch Bar.
Happy zooming, everyone.


