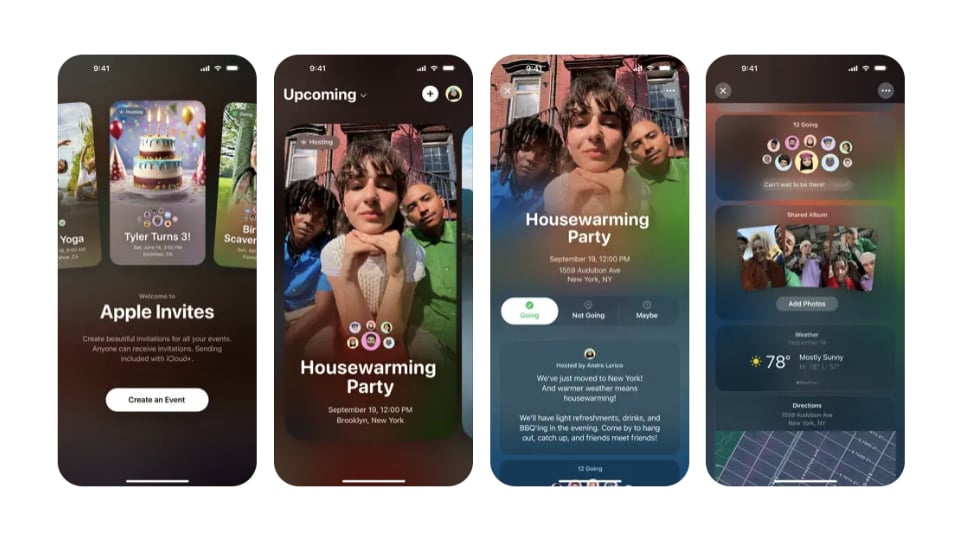
Apple‘s got a new app. Launched seemingly out of nowhere earlier this week, Apple Invites is a free app, available on the App Store, that lets you create colorful invites to events that you can share with friends and family.
The app is very simple to use. Choose a background, set a title and location for your event, and you can start sending it to potential guests.
Credit: Stan Schroeder / Mashable
While the app is free to use and anyone can freely receive invites, one caveat is that you can only send invites if you have a paid iCloud+ account. This is a bummer, but it makes some sense as storing the invites in the cloud does consume storage space. Apple iCloud+ accounts start at $0.99 per month, and Apple now lists Invites as one of the benefits of subscribing to iCloud+ (others include Hide My Email, HomeKit Secure Video, and iCloud Private Relay, as well as more storage for your data).
Apple Invites: How it works
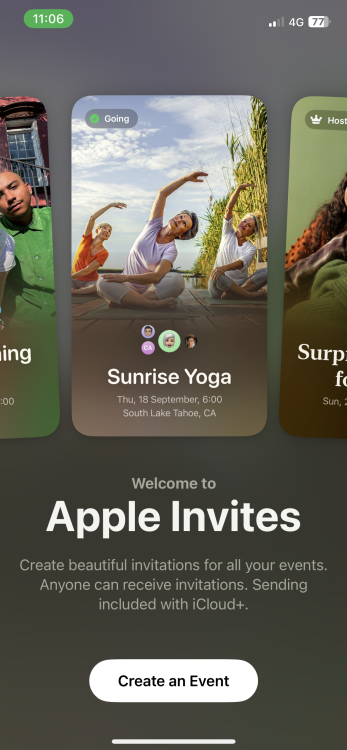
To create a new invite, hit the “+” button in the upper right corner of the Apple Invites app. Start with adding a background; Apple lets you choose from pre-defined options which include emoji-themed, photographic, and colorful backgrounds, but you can also use a photo from your iPhone’s library or take a photo with your camera, using the buttons in the top left of the “Add Background” menu.
Next, set a title for your event, choose date and time, and pick a location, which you can do by searching real world locations — and you can add an optional name for your location, which is useful if it’s your house.
You can also add an event description with a 1,000 character limit, and the host’s name. Finally, you can create a photo album, as well as an Apple Music playlist, and share it with participants.

Credit: Stan Schroeder / Mashable
Once you’re done, you can invite guests by creating a shareable link. And if you need to send an update related to the event to your guests — such as detailed entry instructions or the fact that all the shrimp cocktails are sadly, already gone — you can do that via the “Send a Note” button.
Apple Invites: Tips and tricks
All of the above is pretty straightforward, and I’m sure you won’t have any issues creating and sharing your event. But the app does have a couple of additional features that are easy to miss.
For example, tap on an existing event in the app, and then tap on the three dots menu in the upper right corner. From there, you can duplicate the event, which is handy when you’re hosting repeating events, for example a Pokémon-themed pub quiz in your basement every Wednesday.

Credit: Stan Schroeder / Mashable
For more options, hit Event Settings from the same menu. There, you can choose whether guests need your approval before they can join the event. You can also choose to only show the background image to guests after they’ve opened the invitation with a verified email address (maybe you don’t just want anyone to see how great your basement is). For people who use a screen reader, you can provide a description of your invitation’s background.
Finally, you can also cancel and delete the event, as well as pause replies (for the last time, there won’t be free beer, folks, and I will not entertain any further inquiries).
There are a few other, somewhat hidden privacy options in the app, too. For example, once there’s a group of guests coming, you can grant some of them the ability to invite their own guests to the event. Handy.
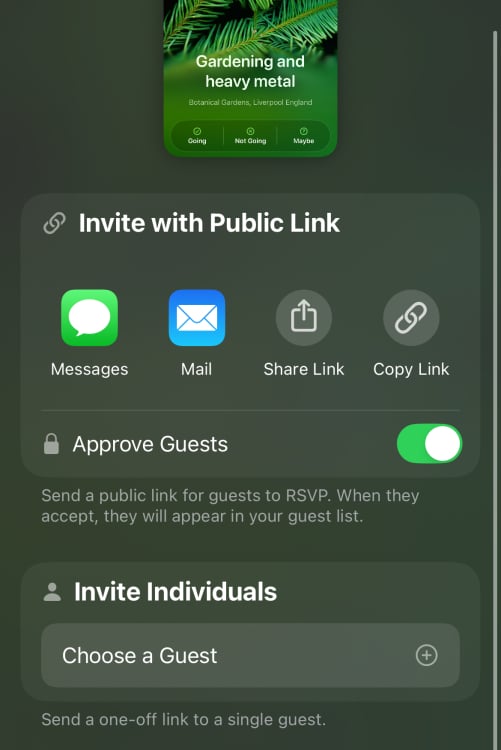
Credit: Stan Schroeder / Mashable
Also, when you invite guests, you can create a public link that allows anyone to join the event, but you can also just invite individual people with one-off links.
Apple Invites: Customizing your notifications
When you’re hosting events — especially if they’re big, and if you’re hosting more than one — things can get messy fast. Apple Invites allows you to get push notifications about events, but fortunately, it also lets you be quite granular when it comes to choosing which types of notifications you want to see.
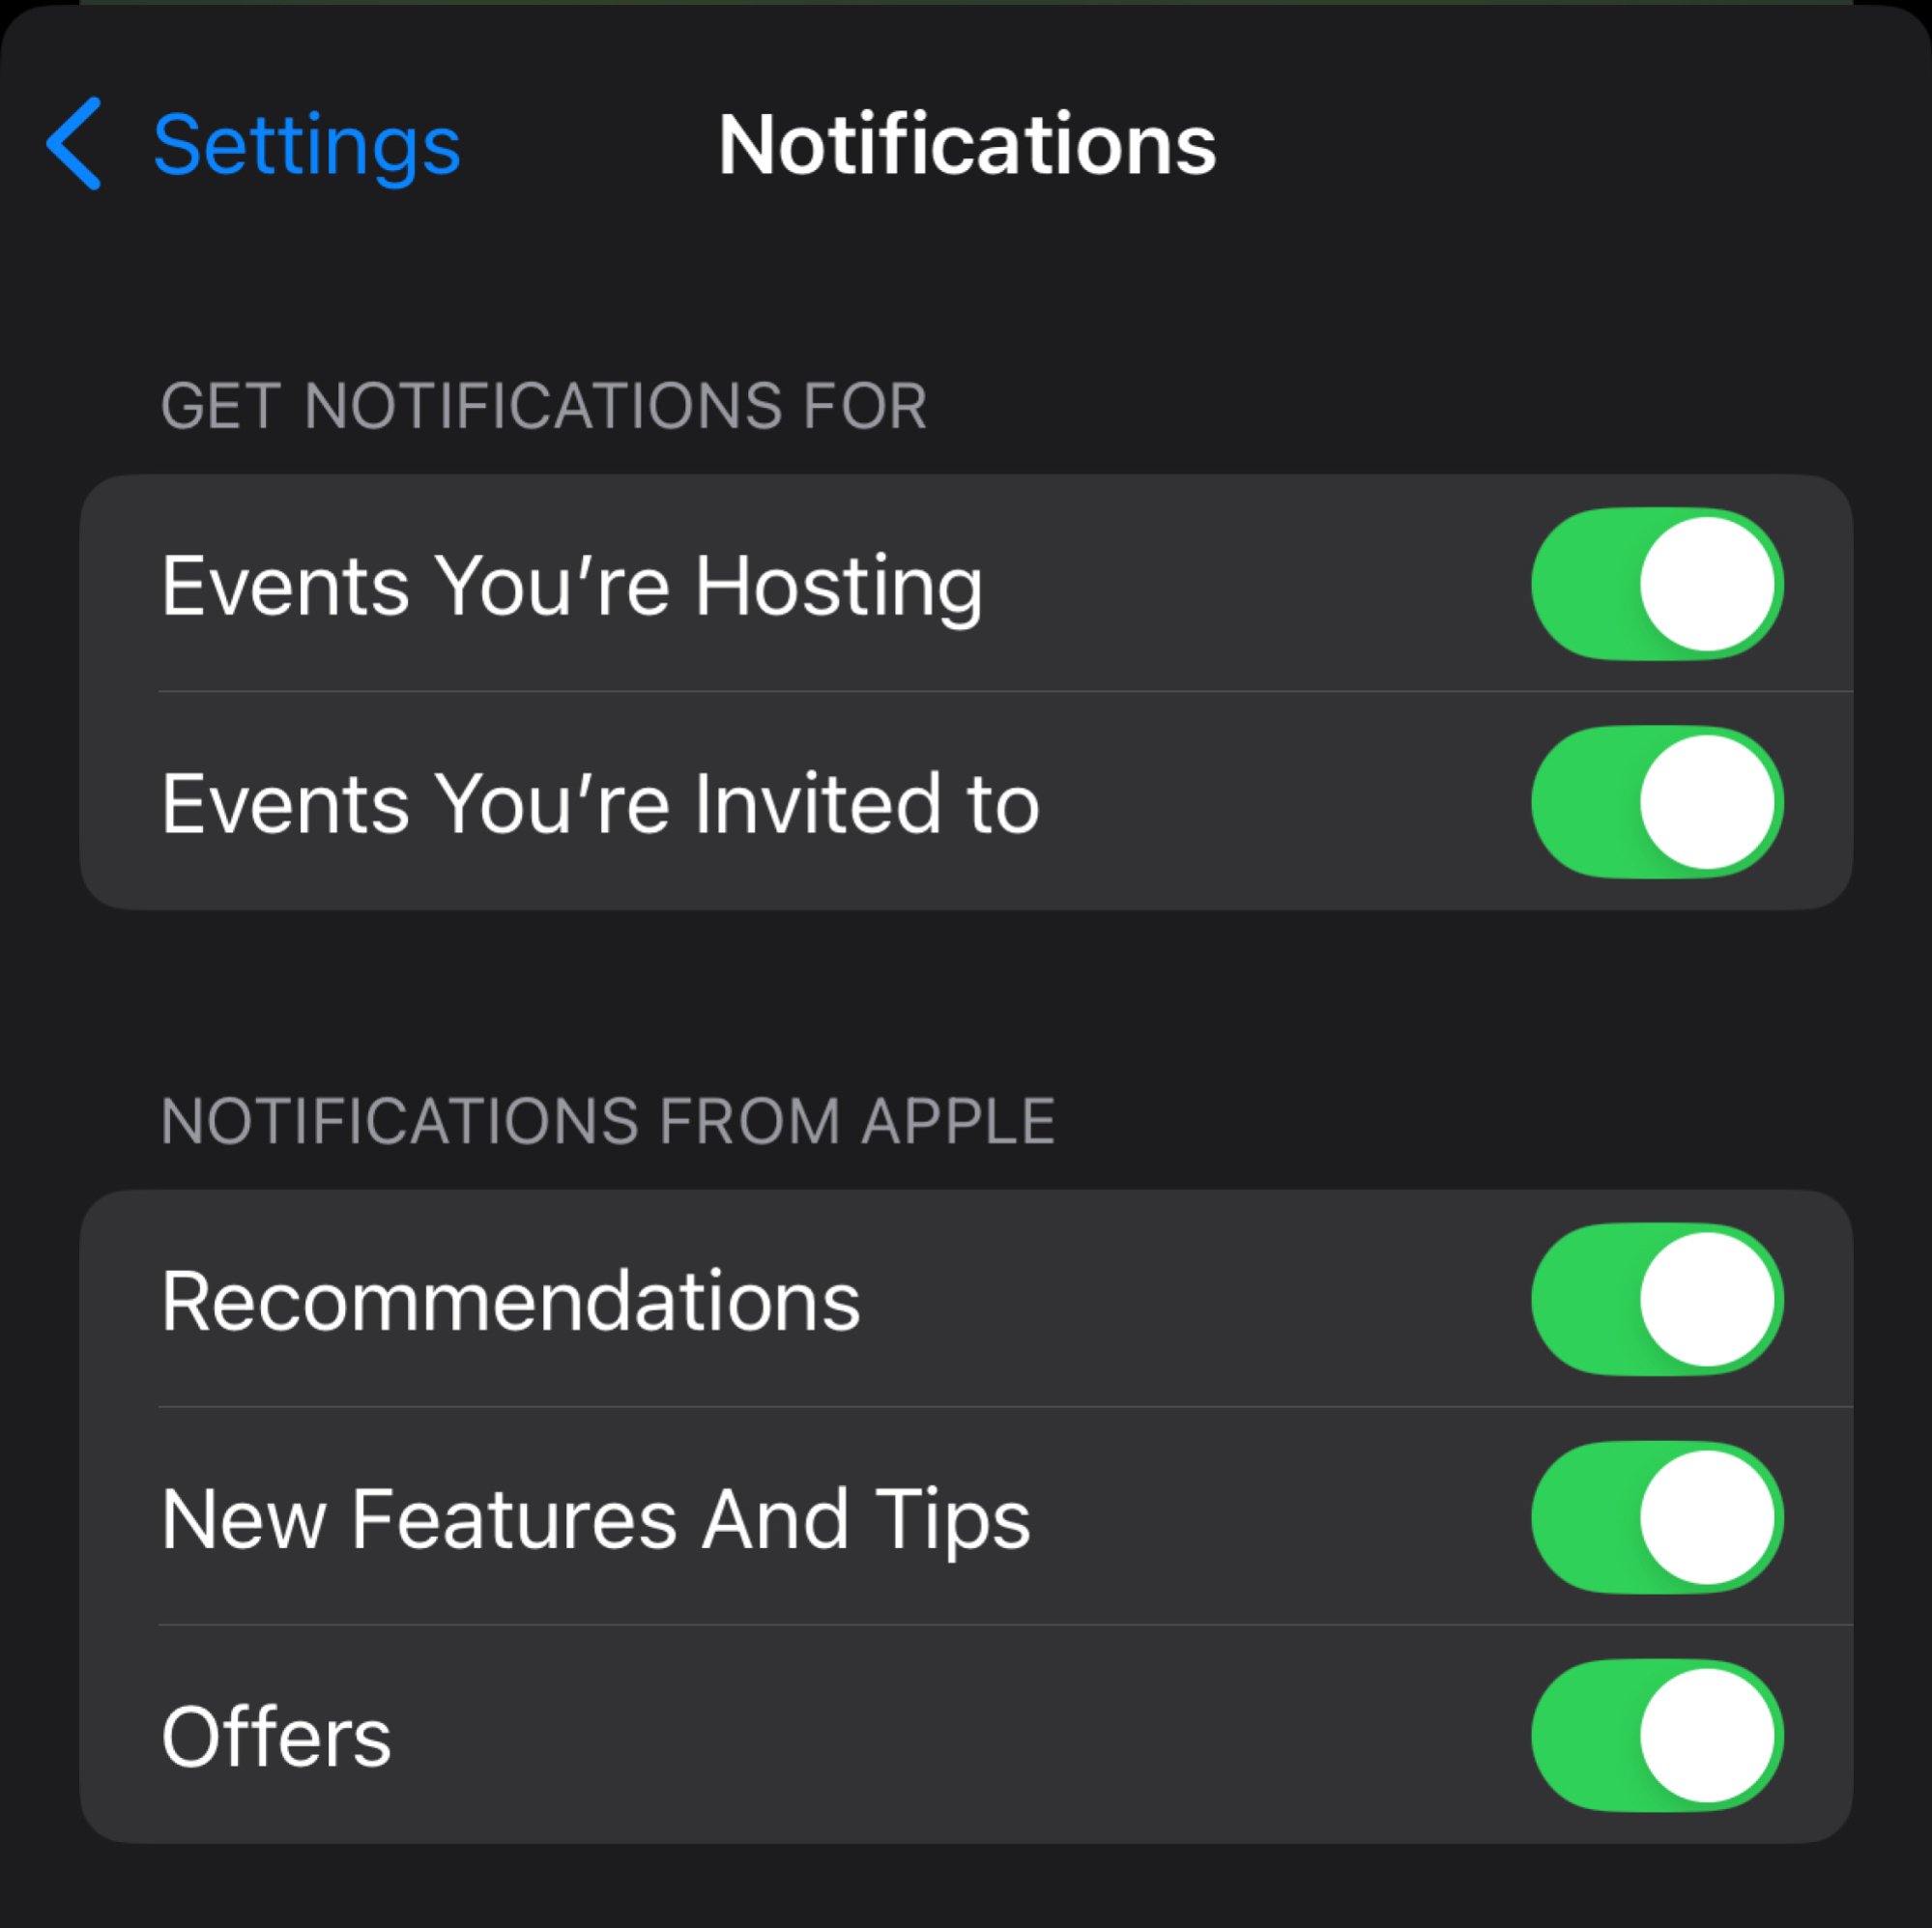
Credit: Stan Schroeder / Mashable
Tap on your profile image in the Invites app, and hit Push Notifications. From here, you can choose whether you only want to see notifications for events you’re hosting, or events you’re invited to.
You can also choose whether you want to see Apple’s updates with recommendations, new features and tips, and offers related to the app.
Go a step back, and you’ll be able to set whether you want to receive email updates about events you’re hosting, or are invited to. This is unrelated to push notifications, and you can have both on or off at the same time.
Apple Invites: How to get it
This one is simple. Apple Invites is a free download at Apple’s App Store. It requires iOS 18 or later, and you do need an iCloud+ account in order to send invites.